Developing Your Organizational Structure
- After logging in to StratXE, to begin developing organizational structure click on "Structure" in the sidebar.
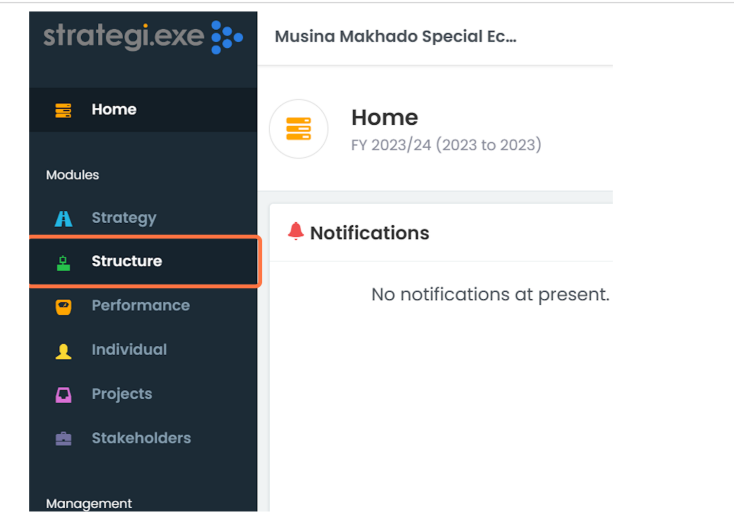
- This will open the "Structure" (People) page.
- Initially, only the board will appear in the organogram. Users will build the Organizational Structure by creating Job Grades, Departments, Job Templates and Job Profiles. These elements are then linked to in order to depict how the organization is currently constituted.
- It's important to note that Job Profiles and Job Templates can be created independently of users, meaning that organizational structure can be created without assigning Job Profiles to users.
Users can be assigned to Job Profiles at any stage during the development of the organizational structure. Users can be removed and re-assigned but cannot occupy more than one role at a time.
- To begin developing the organizational structure, it is recommended that Job Grades are first defined. To develop Job Grades, select the "Job Grades" tab and click "Create".

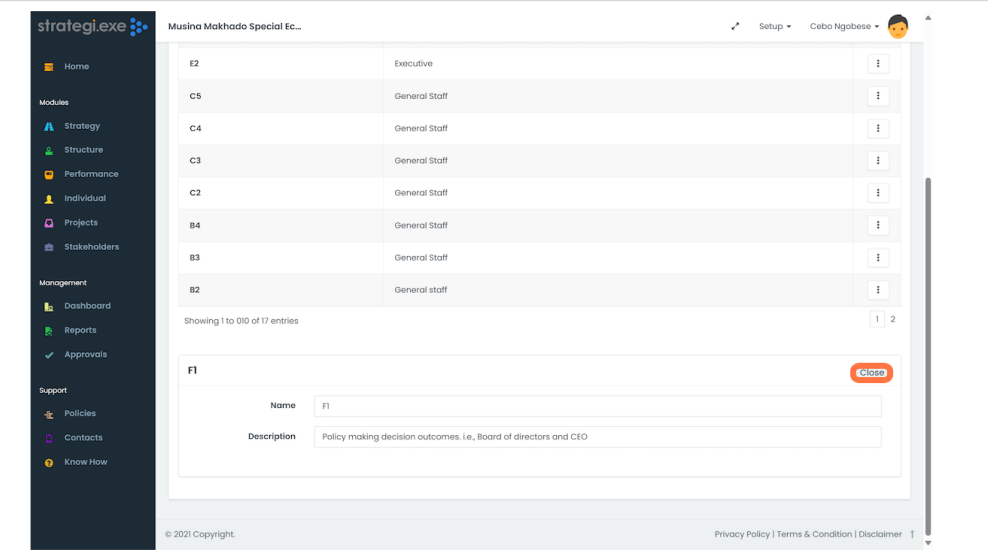
- Populate information about the Job Grade in the dialogue box that appears below, and click "Create" to save.

- Click close to close the dialogue window.

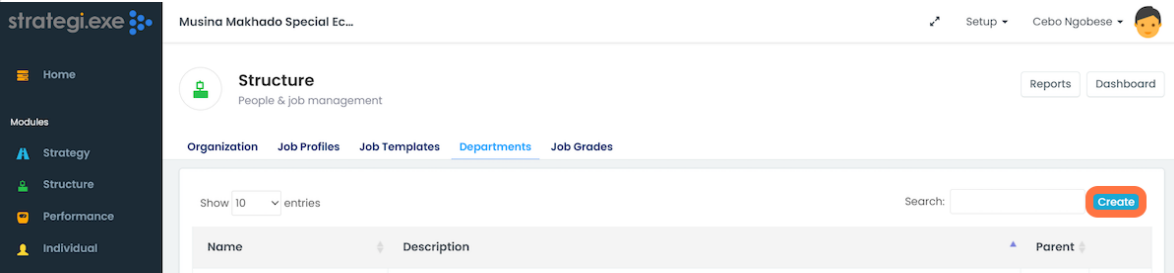
- The next recommended step is to set up the departments the organization is comprised of. To do this, select the "Departments" tab and click on "Create".

- Similarly to Job Grades, populate the information about the department in the dialogue box that appears below and click "Create" the save the department.
A Parent Department can be assigned to Department depending on how the structure is configured.
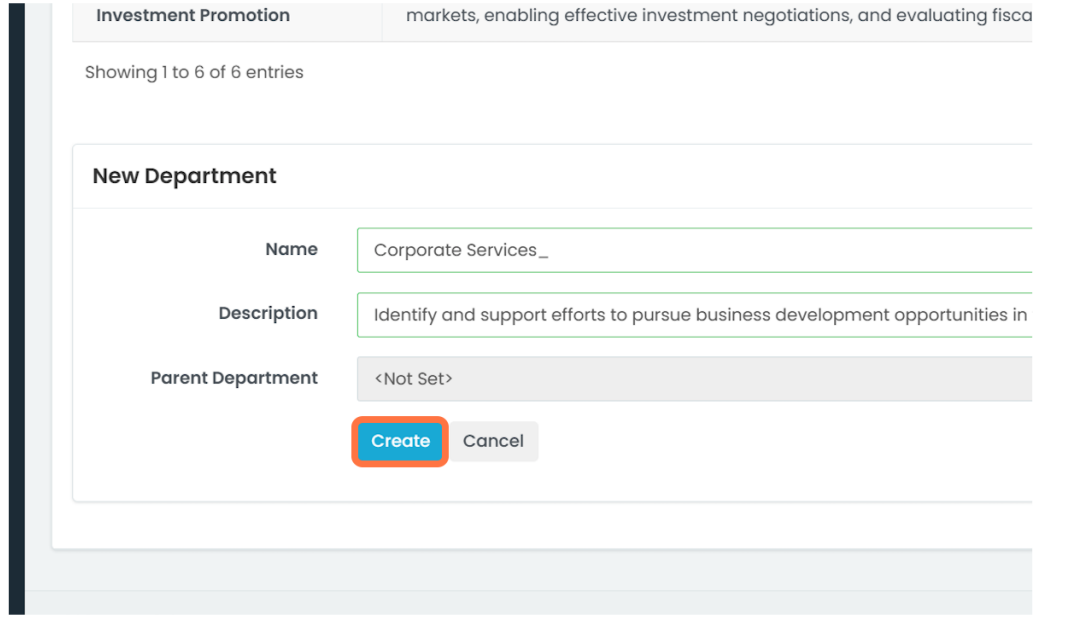
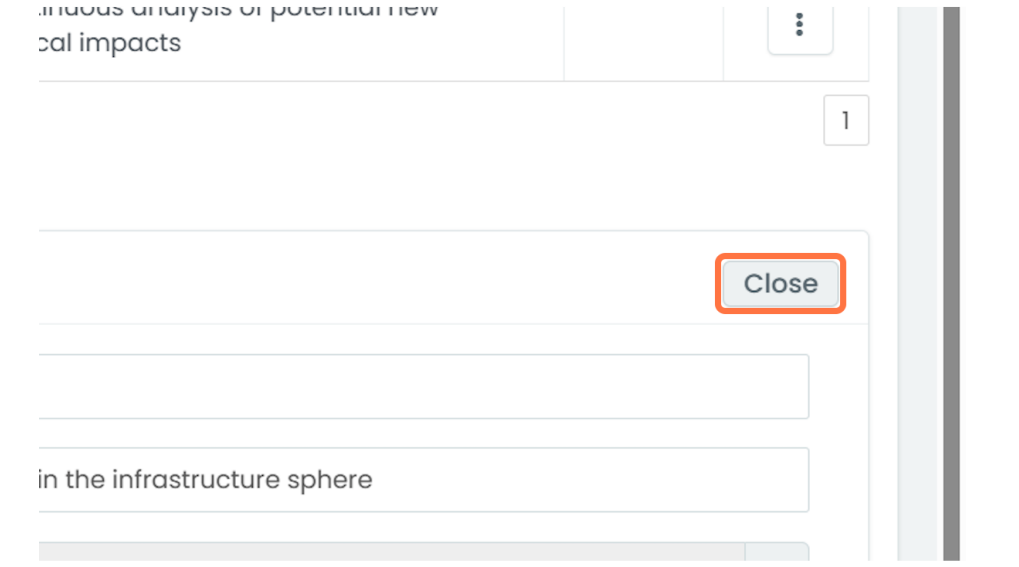
- Once the department has been created, click "Close" to close the dialogue box.

- Once Job Grades and Departments have been created, developing Job Templates can begin. Select the "Job Templates" tab and click "Create"

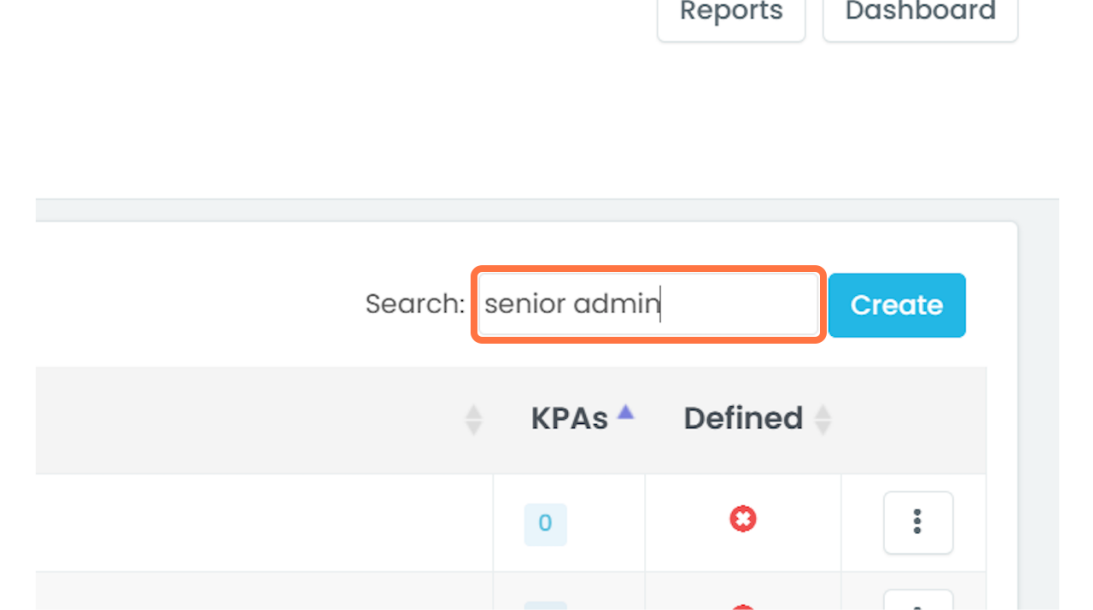
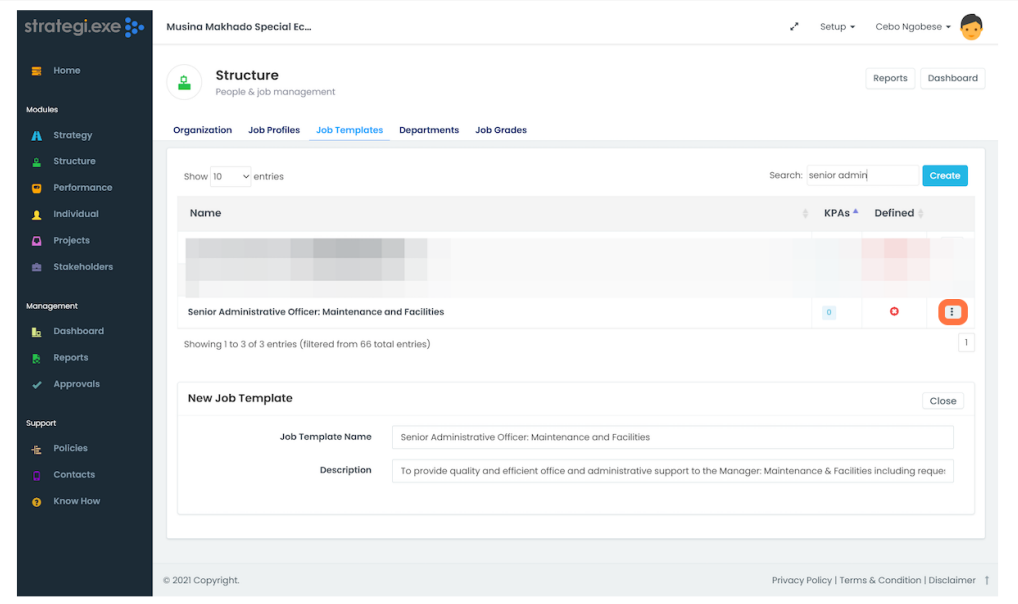
- Populate the name and description of the Job Template in the relevant fields. Click "Create" to save changes and create a new Job template.
- Once a Job Template has been created, KPA's, Tasks and Success Indicators must be assigned to each template. This will inform the Performance Contract (Agreement) developed at a later stage.

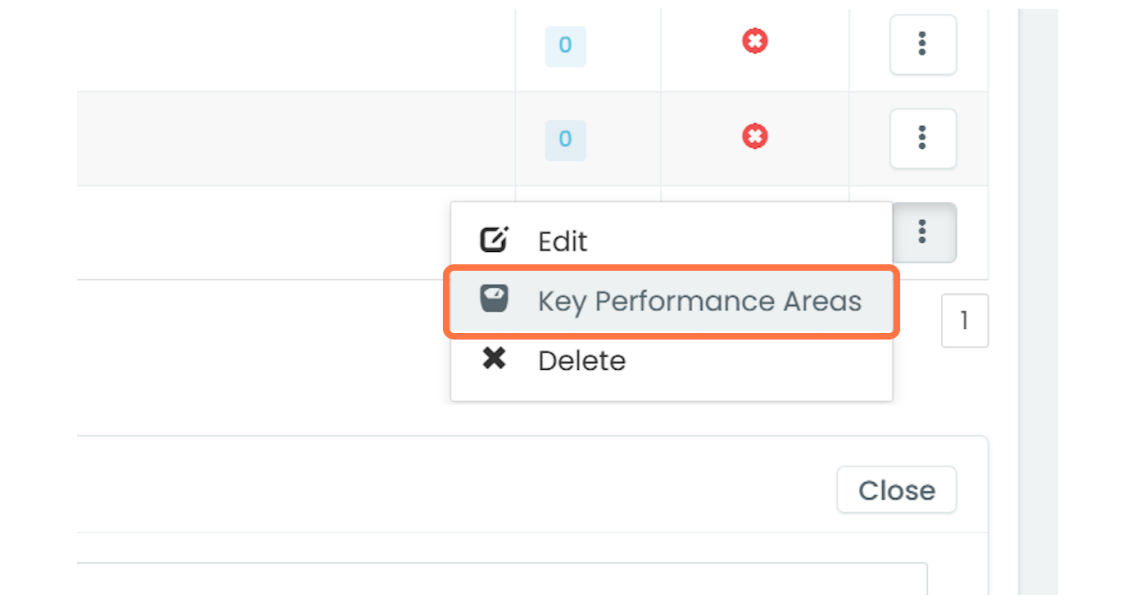
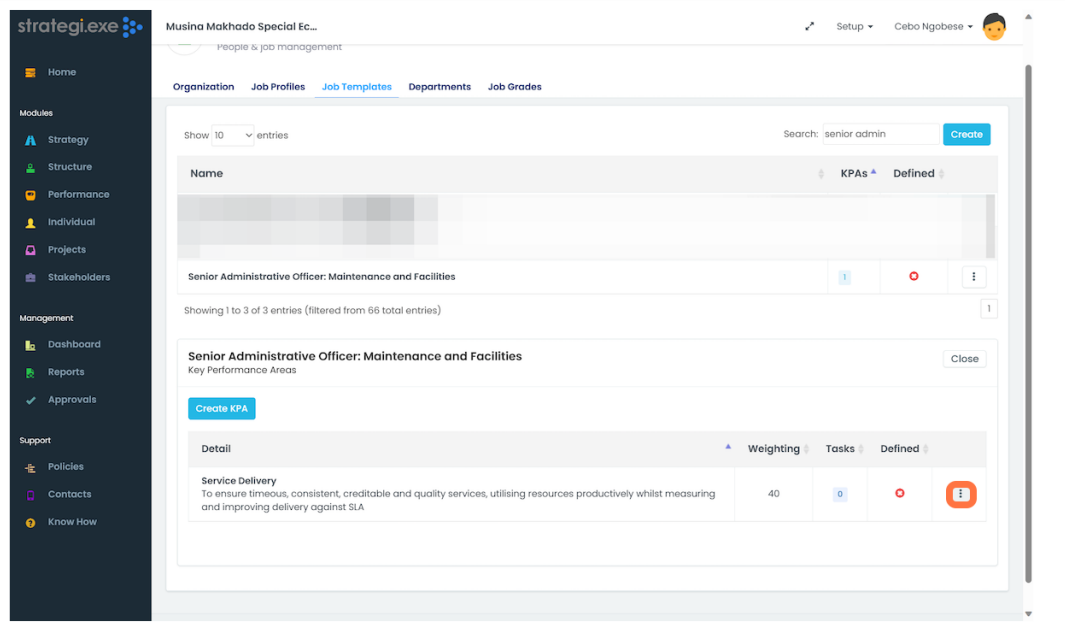
- To begin assigning Key Performance Areas, from the Job Templates page, click the three dots to access the drop down list. Click "Key Performance Areas".


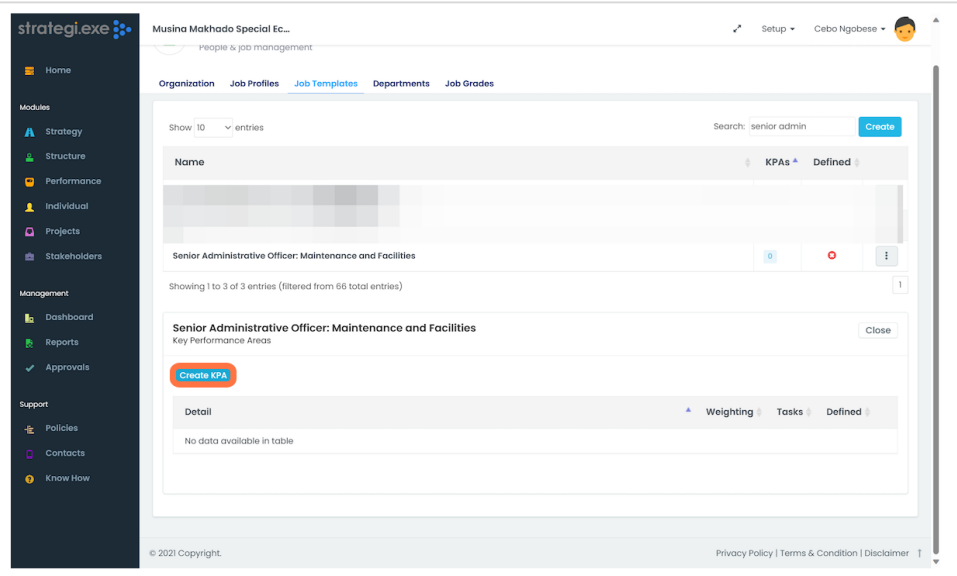
- In the dialogue box that appears below the list of Job Template, Click "Create KPA".

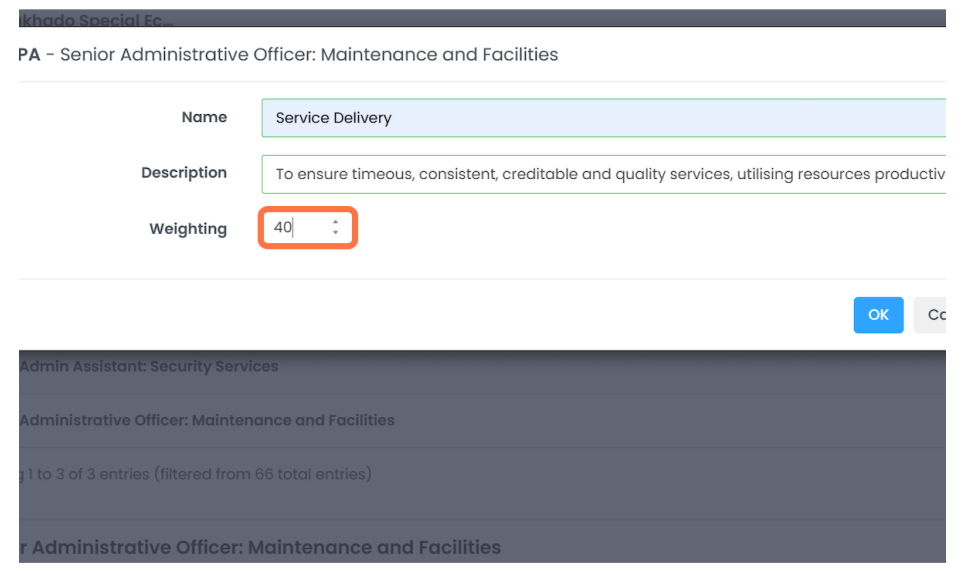
- Populate the information about the KPA in the relevant fields and click "OK" to save.

- The Key Performance Area will now appear in the list of KPA's and can now have task assigned to it. Each Job Template can have multiple KPA's.
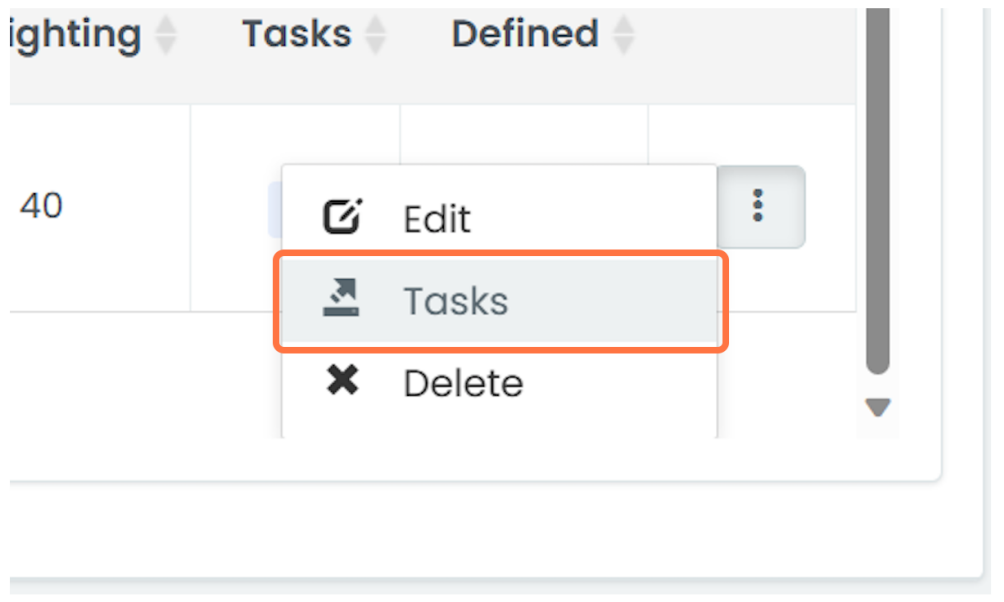
To begin assigning tasks to the KPA, click the three dots on the right of the KPA and select "Task"

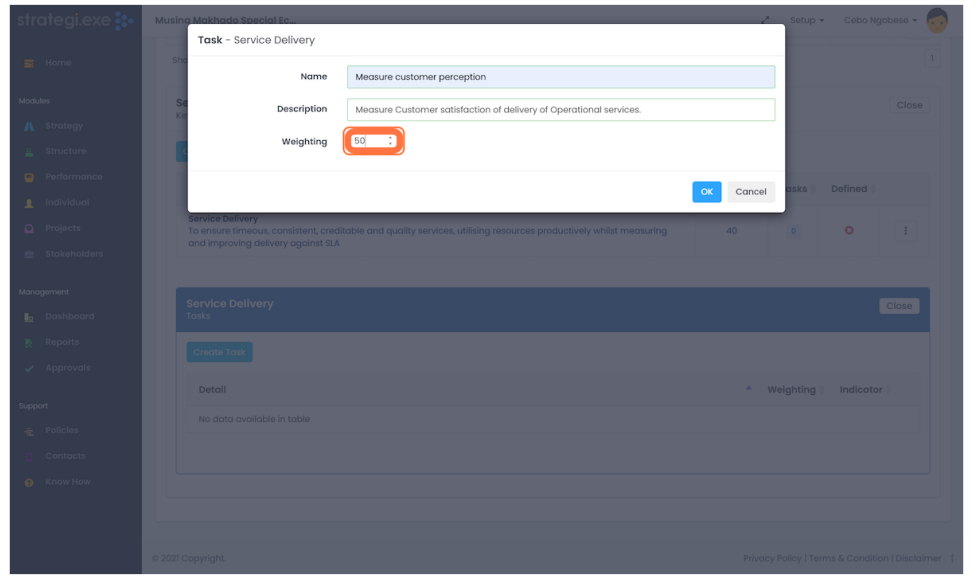
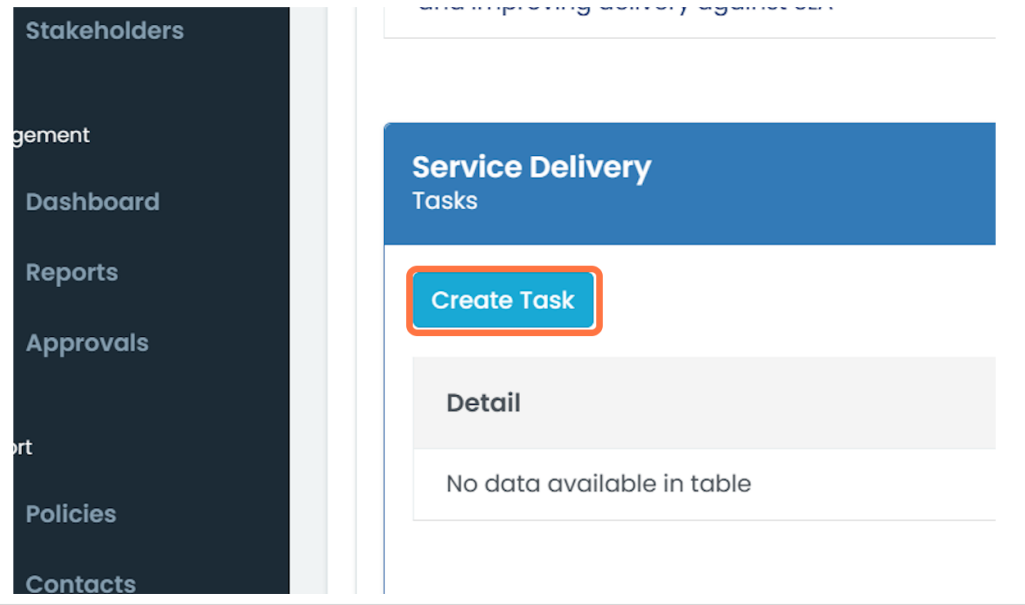
- In the dialogue box that appears, click "Create Task".
- Populate the information about the task in the relevant fields. Click "OK" to save the changes.

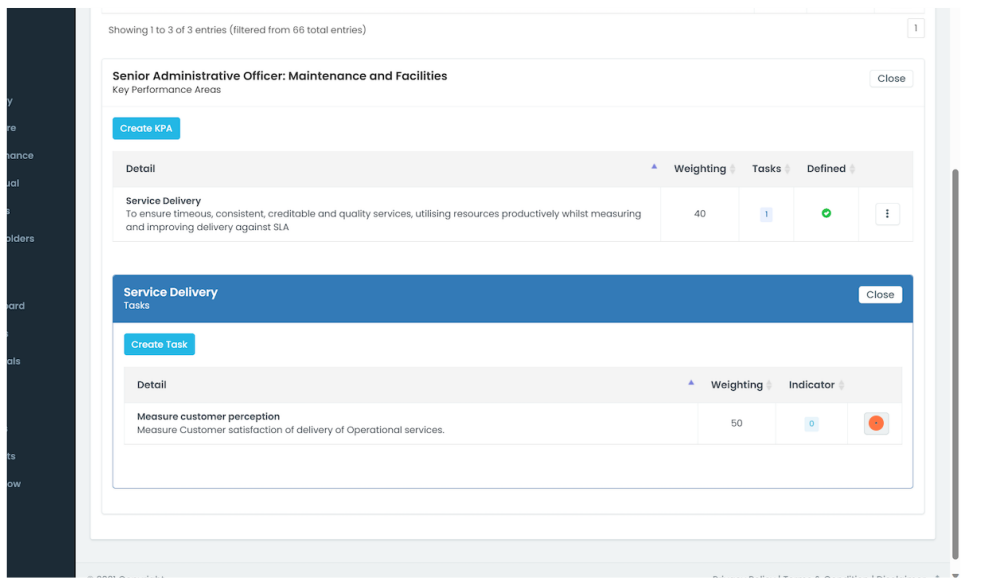
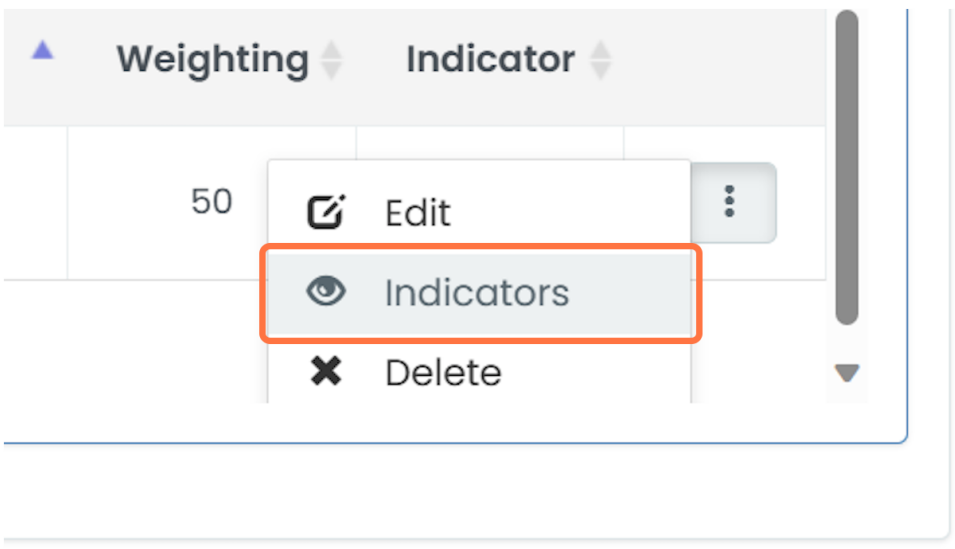
- The task will now appear in the list. To begin assigning indicators to tasks, click the three dots on the right of the task and click on "Indicators".


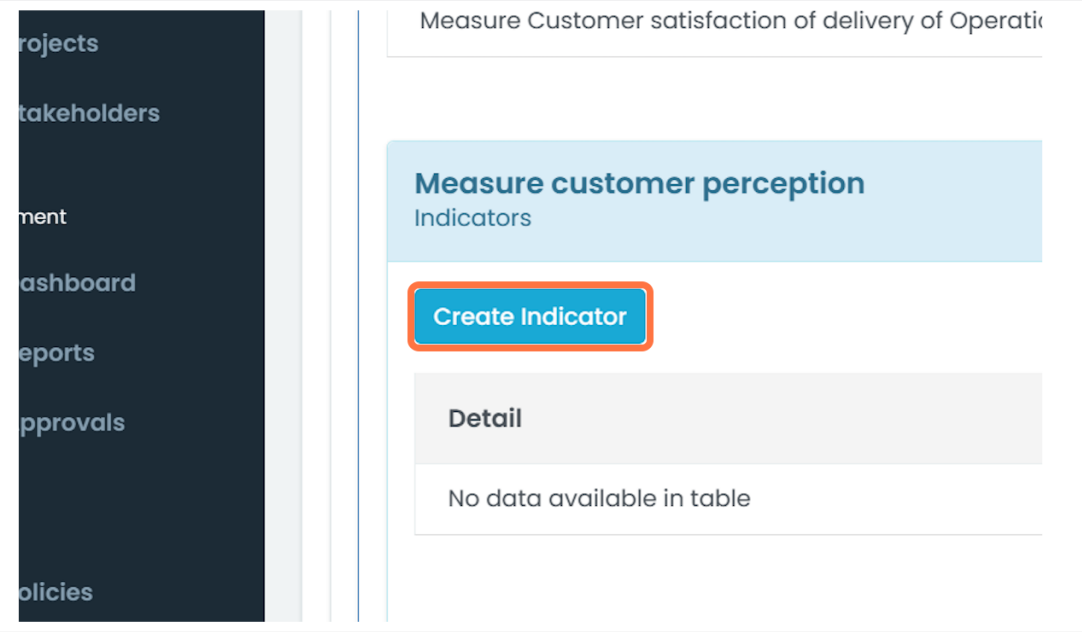
- In the dialogue box that appears below the list of Tasks, click "Create Indicator".
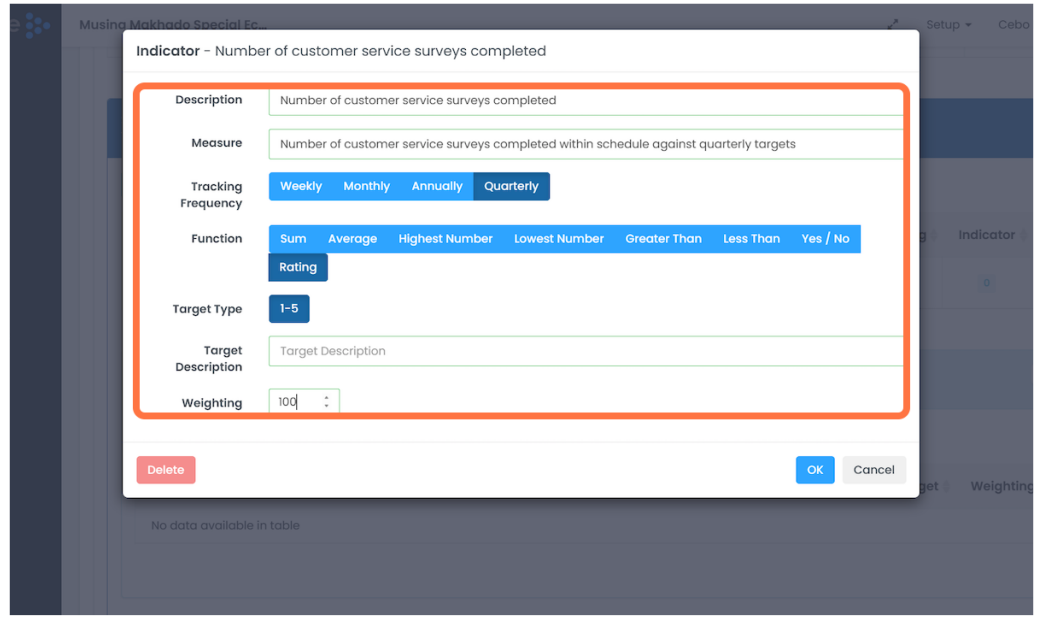
- Populate the fields in the dialogue box, with the relevant information about the indicator. Make sure to select the appropriate Tracking Frequency, Function and Target Type. Click "OK" to save the indicator.

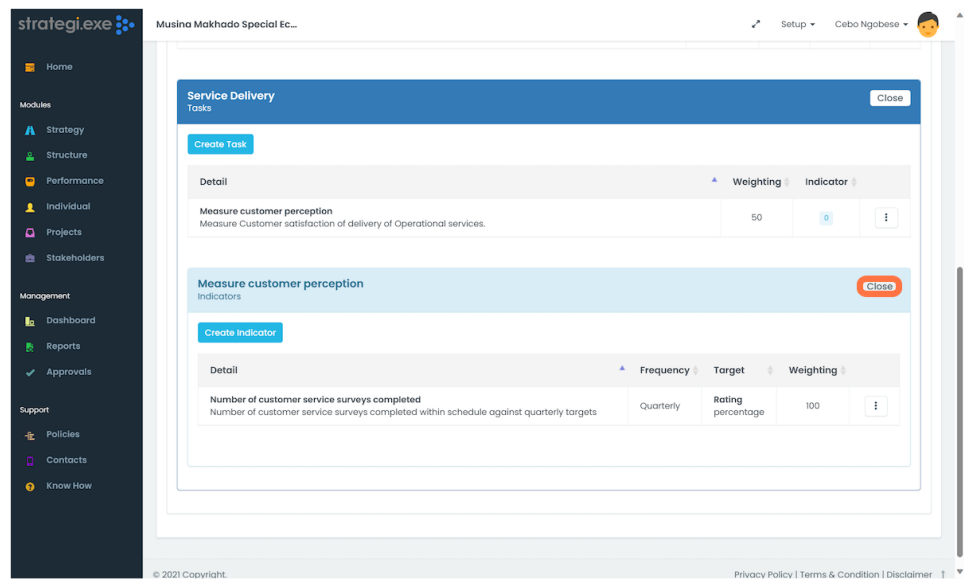
- Once all the indicators have been added, the dialogue boxes can be closed.

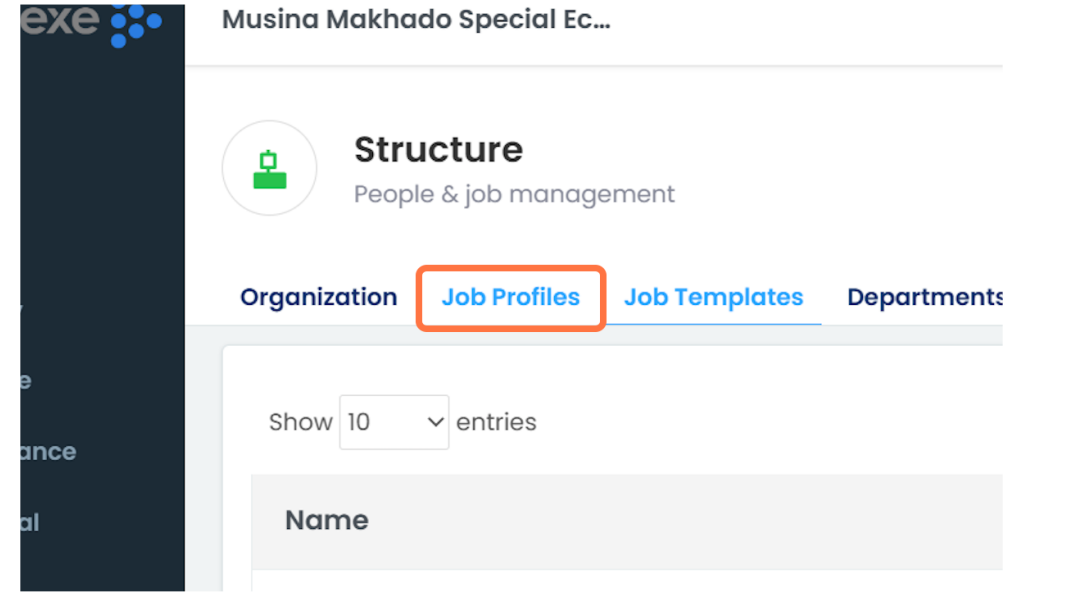
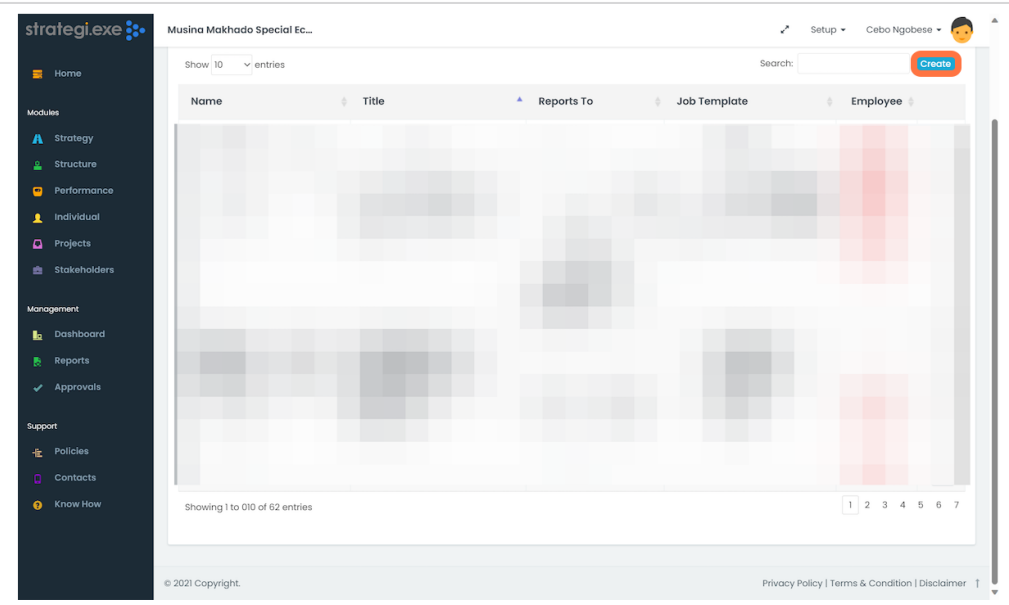
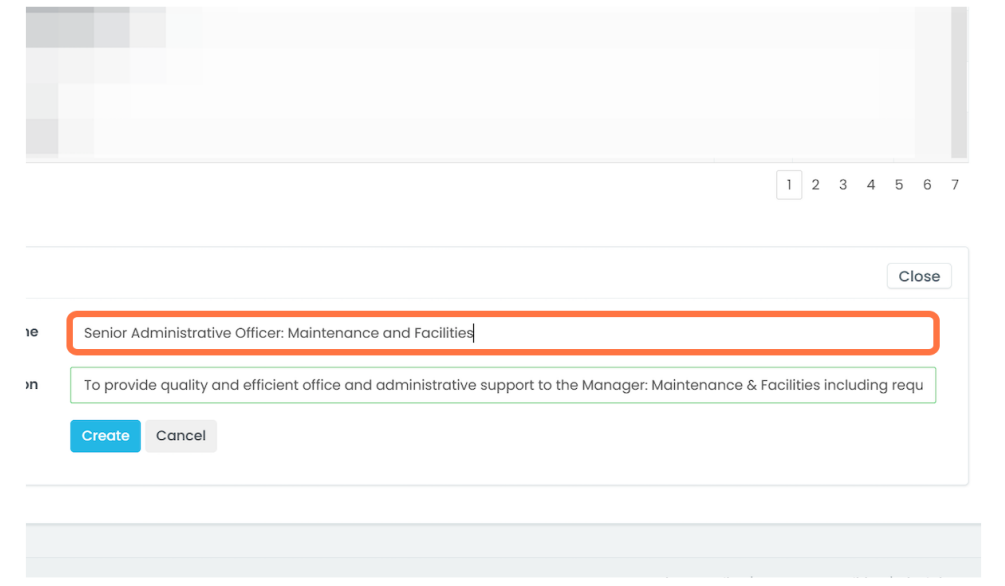
- Job Profiles can now be defined. Click on Job Profiles to begin.

- Click on "Create".

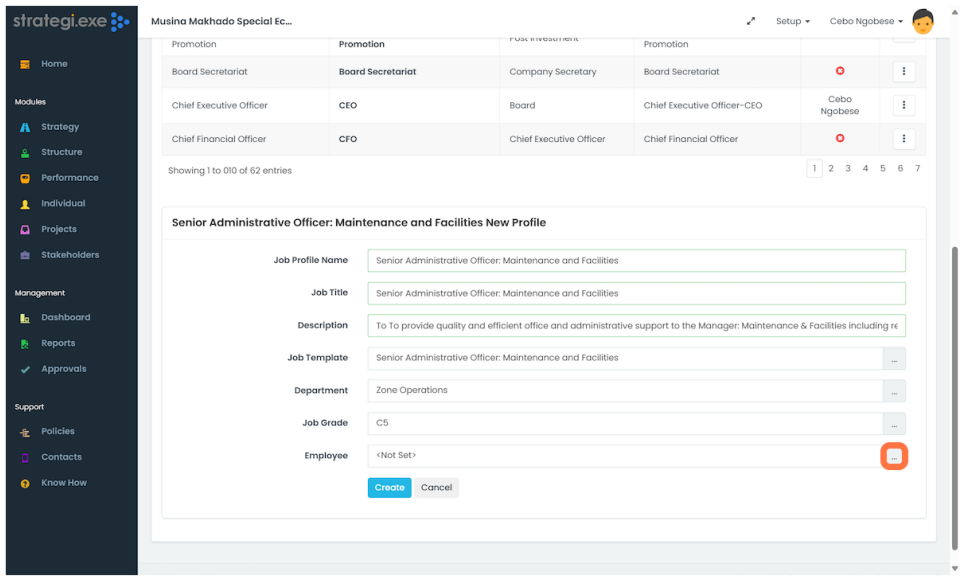
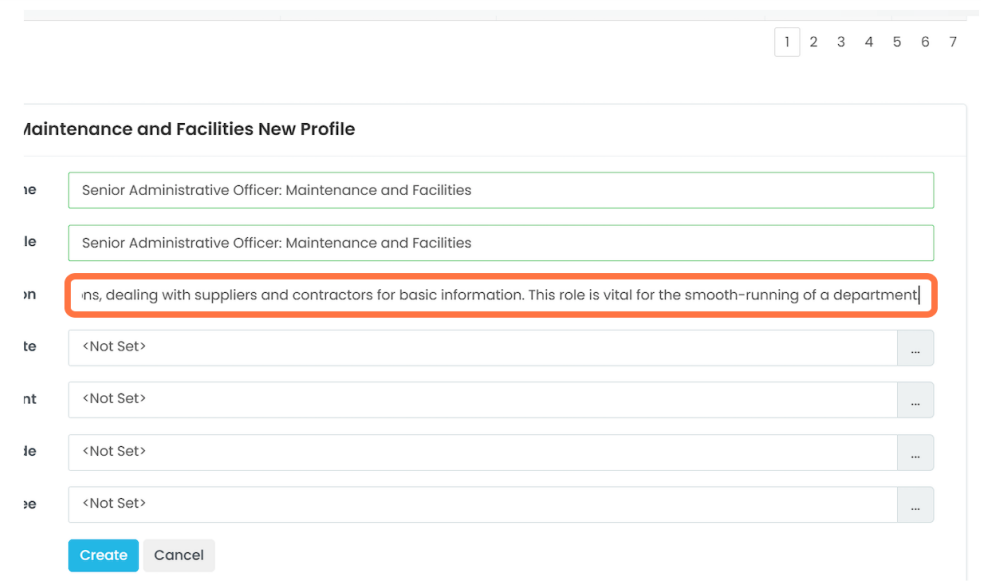
- In the dialogue box that appears, fill in the relevant information about the Job Profile.
- To link a Job Template to the current Job Profile, click on the three dots.
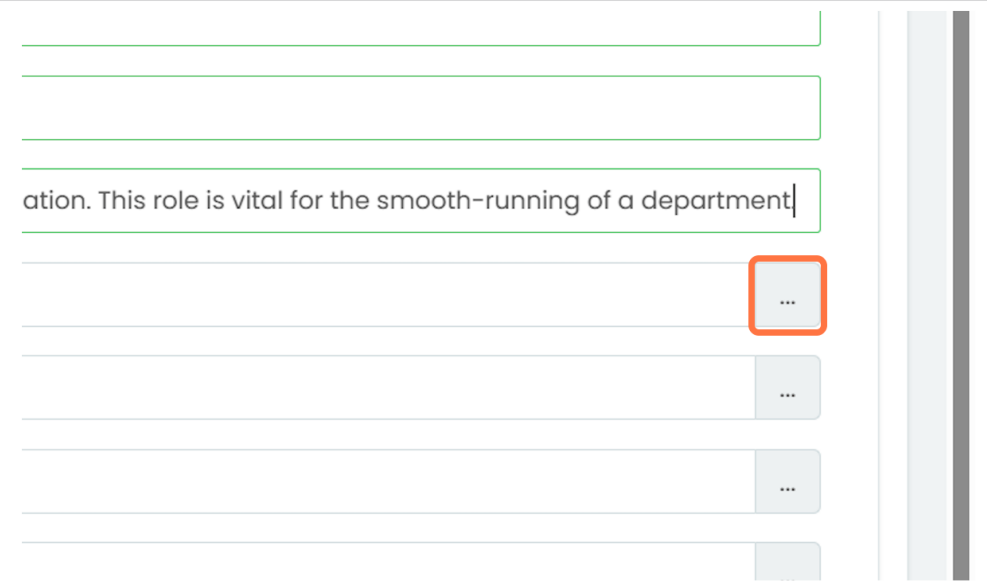
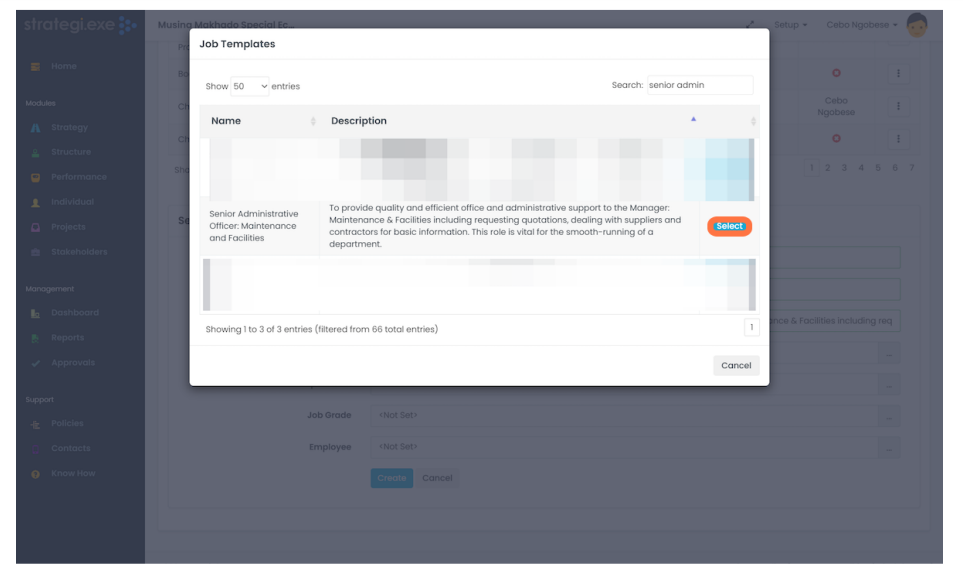
- A pop-up window will appear, within which the desired Job Template can be searched and then selected. Once the Job Template has been selected, it will be linked to the current Job Profile. Click "Select" to save.
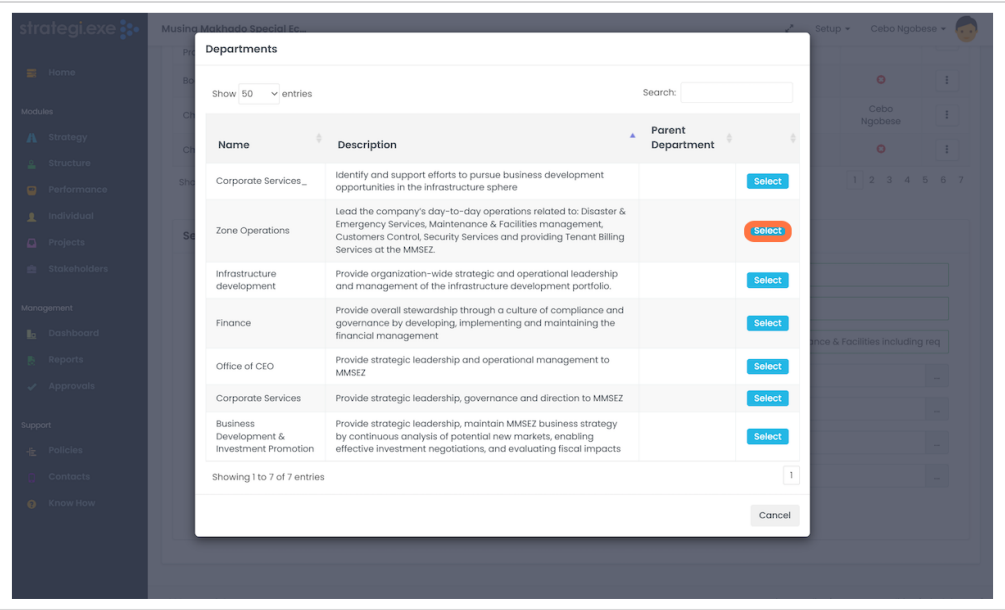
- Departments can also be assigned to a Job Profile, following the same steps. Click the three dots.

- Click on "Select" to link the relevant Department to the Job Profile.
A Job Grade can also be selected following these steps.
- If a position is already filled within the organization, that employee can be linked to the Job Profile. To begin, click the three dots.

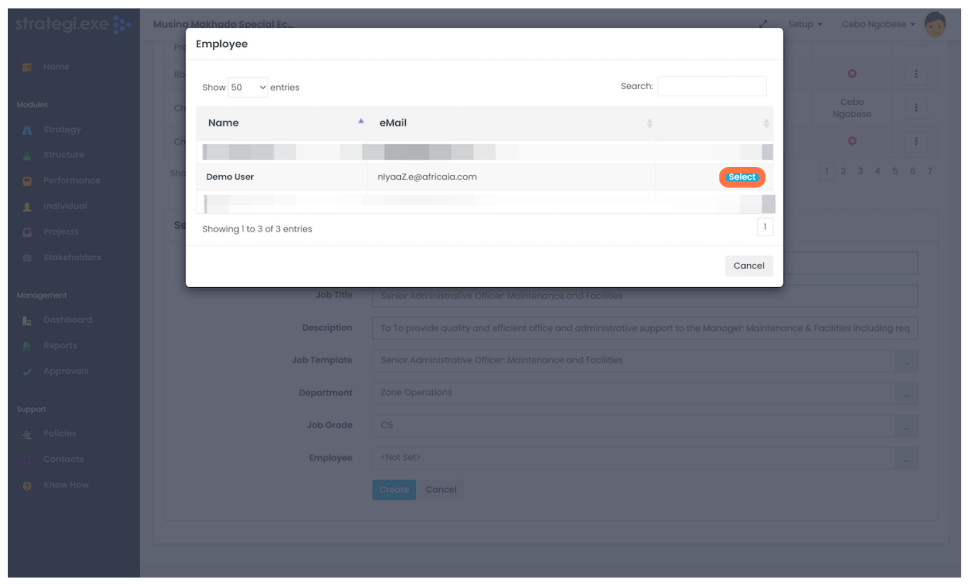
- In the pop-up window that appears, select the relevant employee.

- If a line manager Job Profile has already been created, the reporting lines can be selected for the current Job Profile by selecting the three dots. Note that in order to assign a manager, that managers Job Profile and Template but already be created.

- In the pop-up window that appears, the manager can be searched and selected.

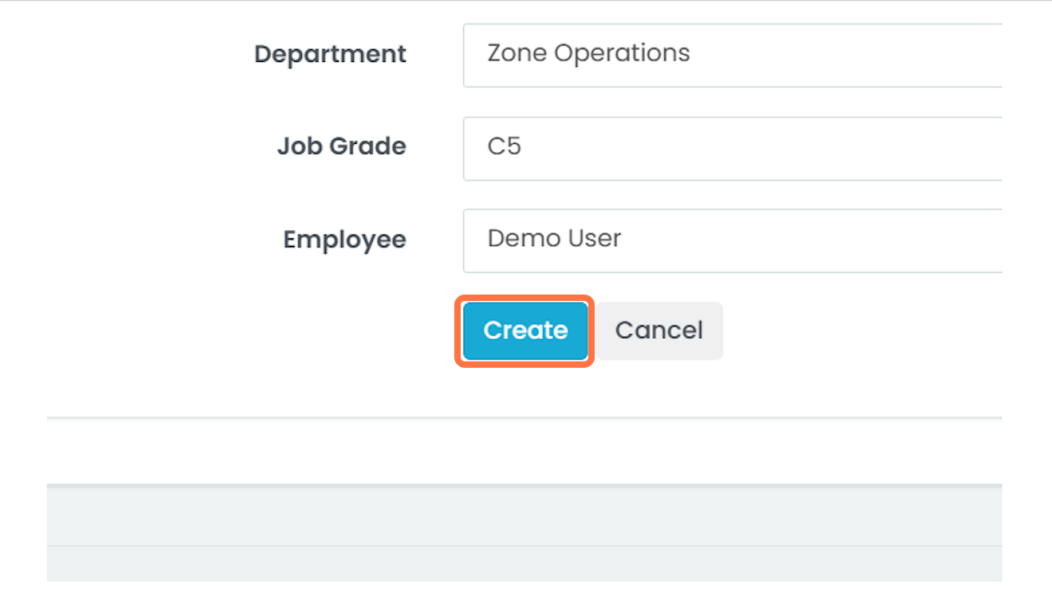
- Once all the fields have been populated, click "Create" to save the changes and create the new Job Profile.

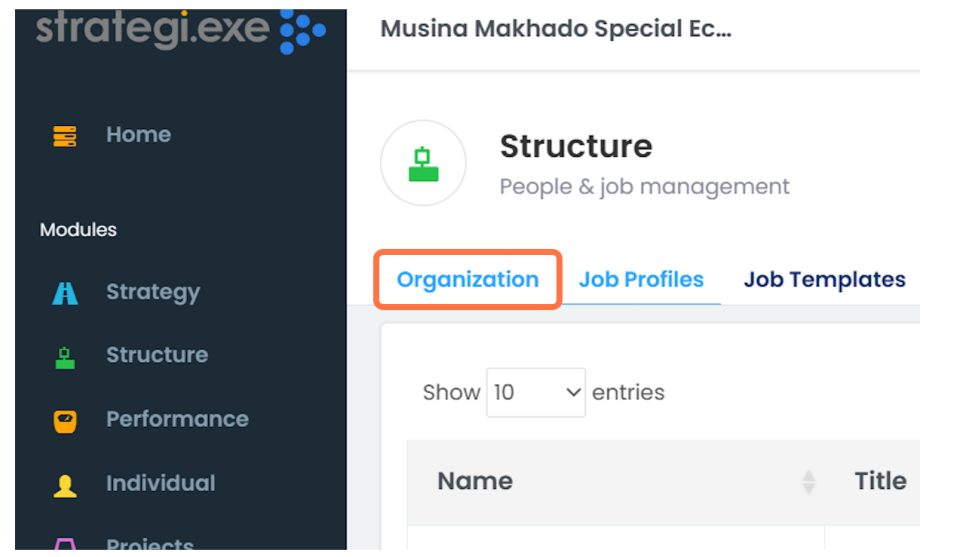
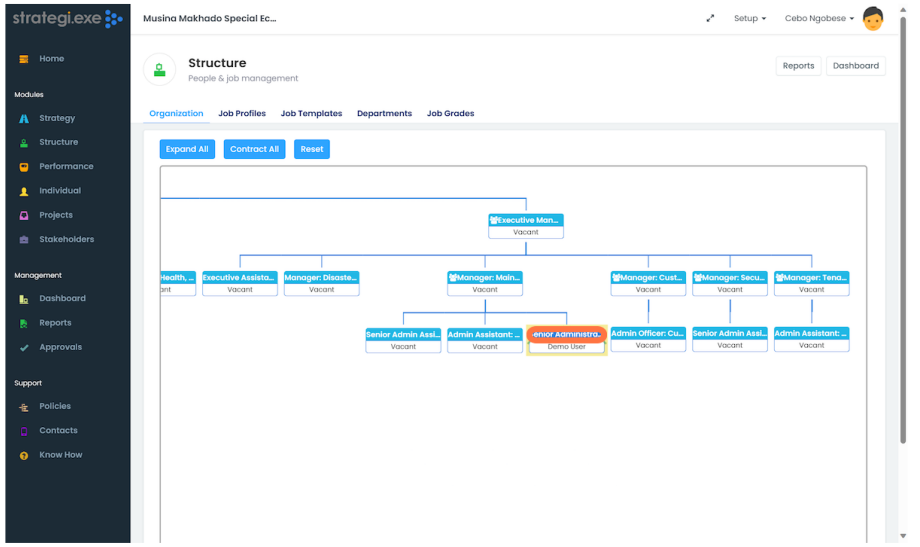
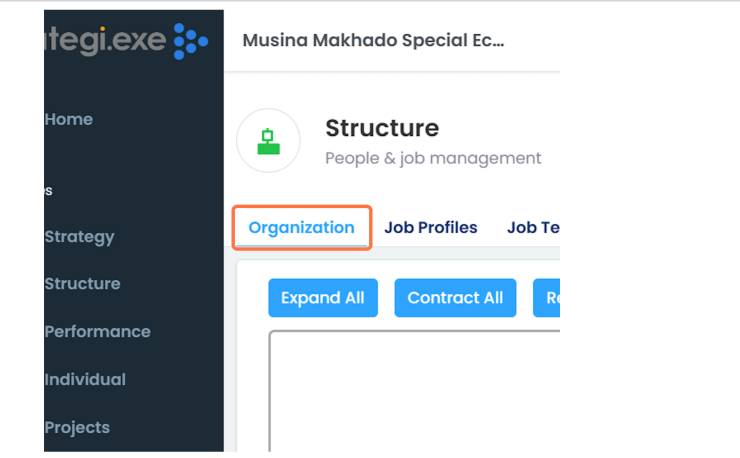
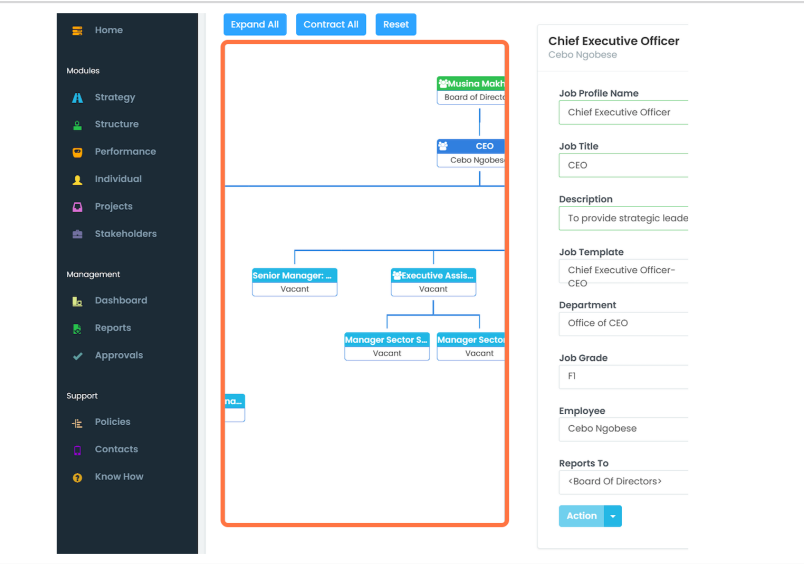
- To develop or revise the organizational structure (organogram), click on "Organization"

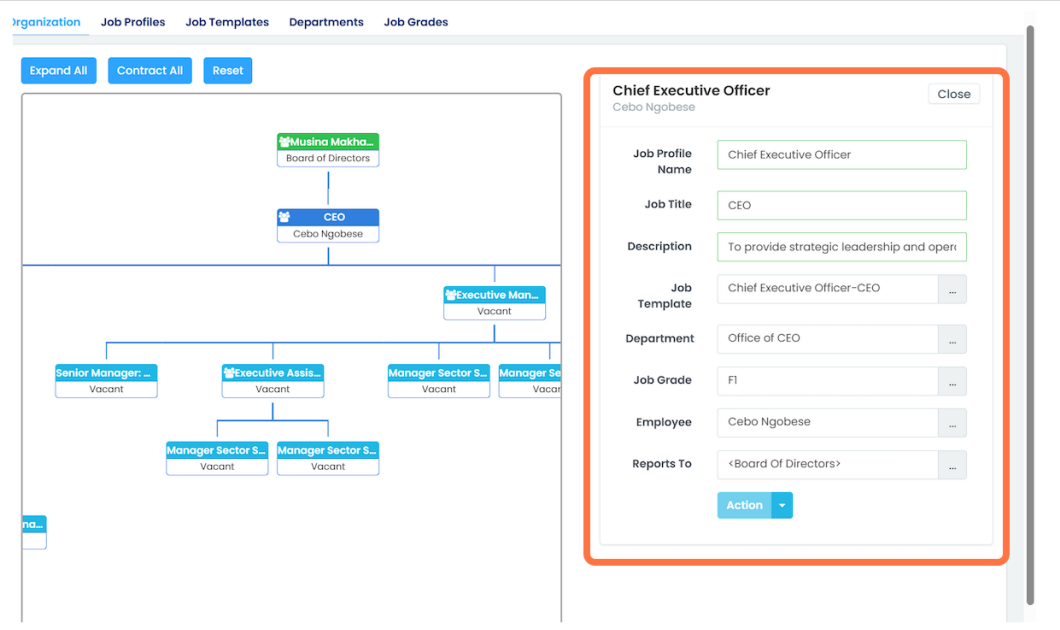
- The company organogram will appear, showing all reporting lines. If there is an error with a reporting line, it can be amended by double clicking on the Job Profile.

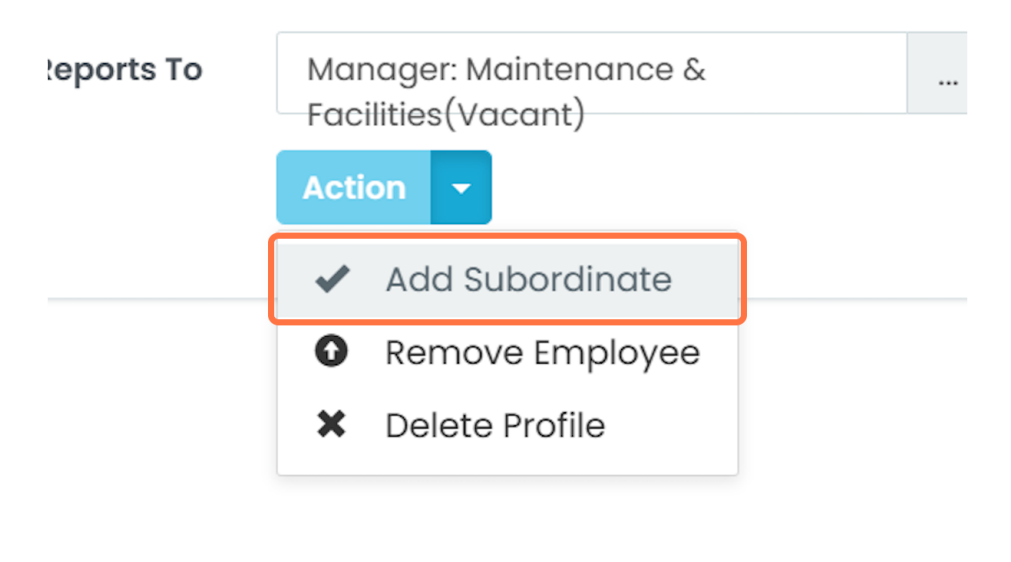
- A pop up window will appear next to the diagram, within which the Job Profile can be edited. To add or remove reporting lines, click the drop down arrow by "Action".

- In the drop down Action menu, reporting lines can be added, employees removed and profiles deleted.