Getting Started
Company Set-up
Company Set-up
Setting up your organisation
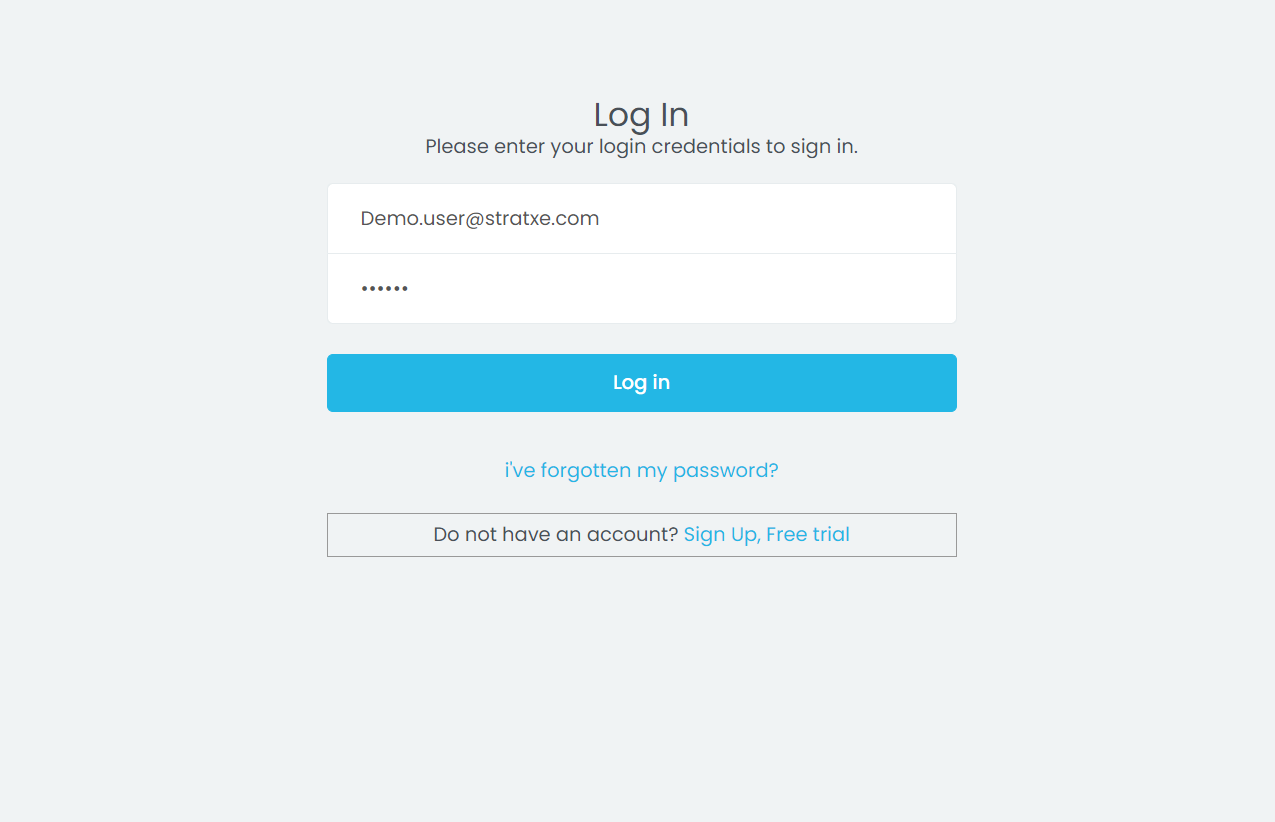
- Go to www.stratxe.com, enter your login details and click "Log in".

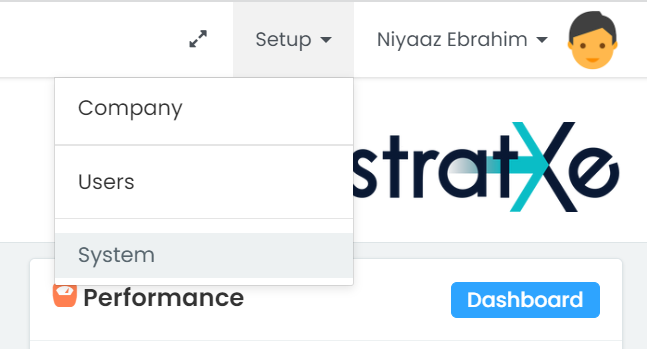
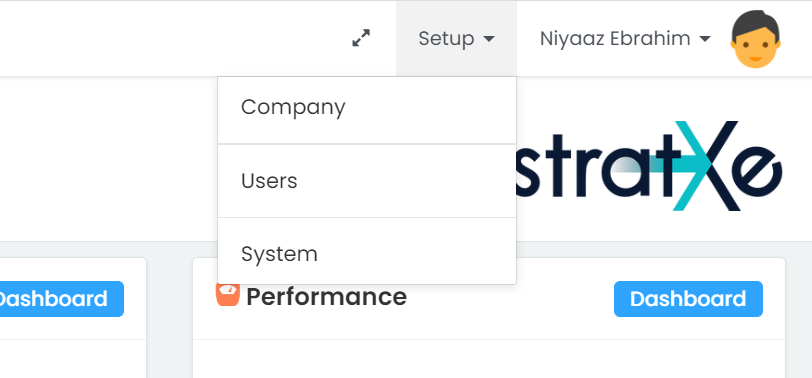
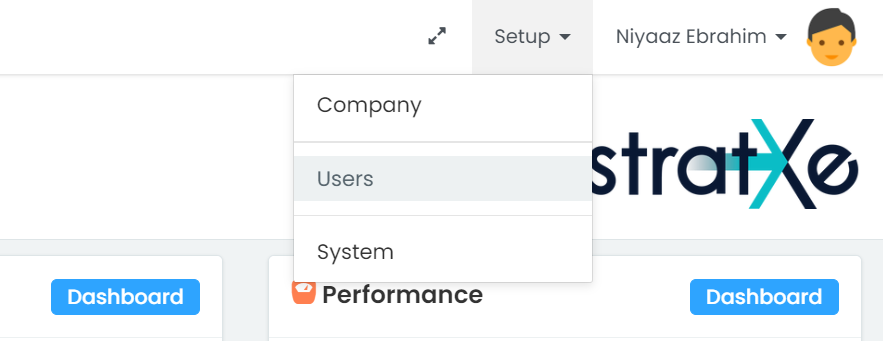
- Once logged in, to begin setting up your organization, click the "Setup" button in the top right hand corner and click on "Company".

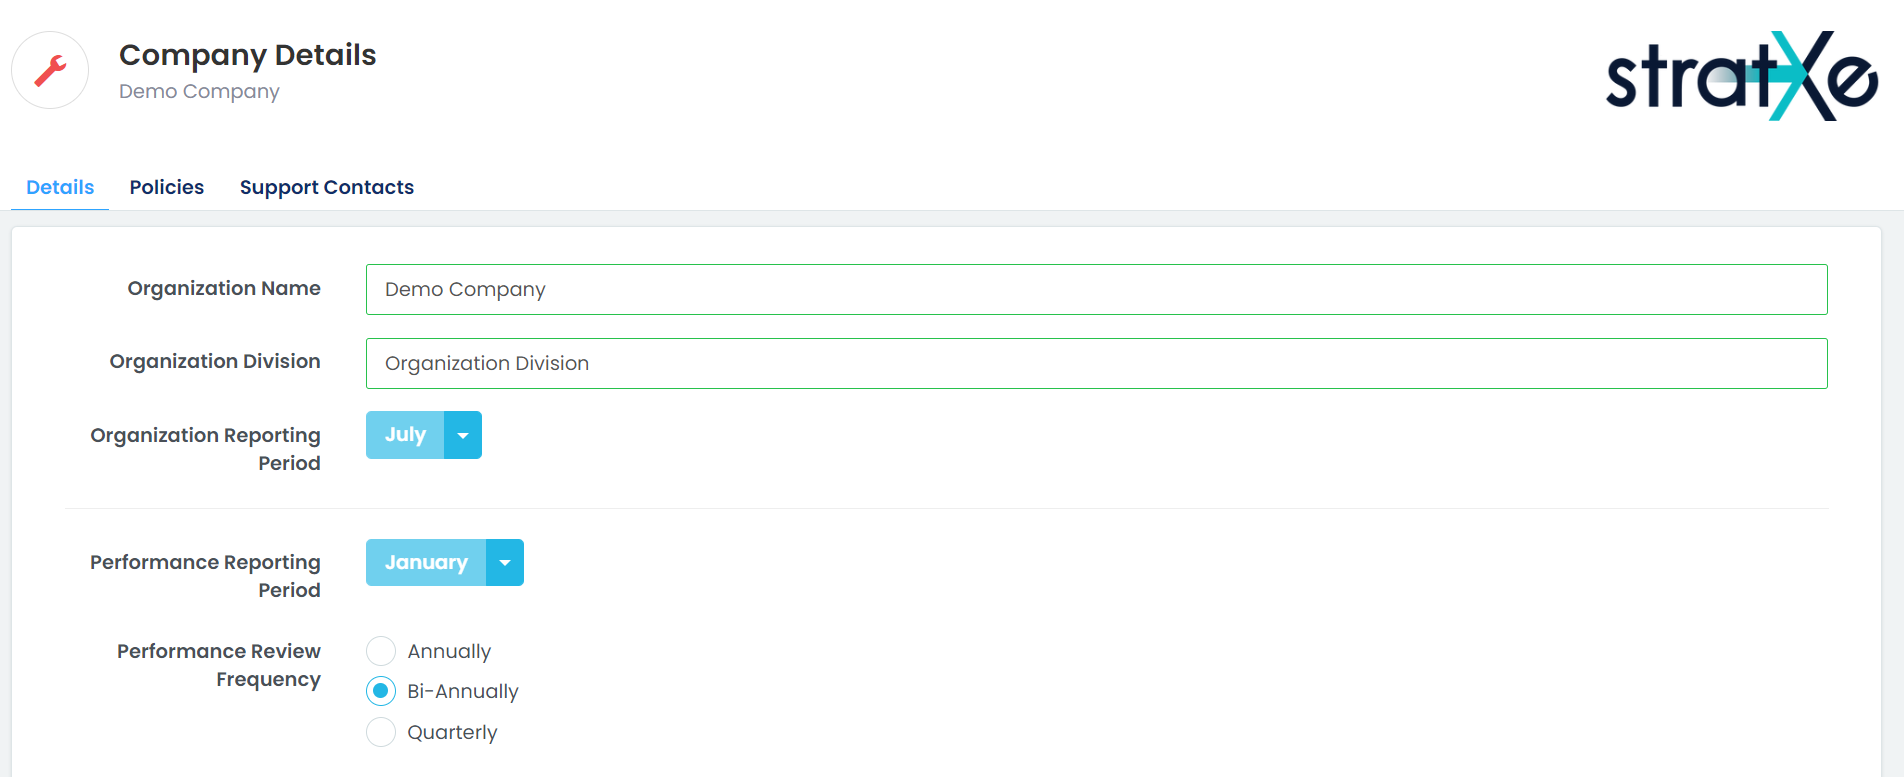
- From the Company page, you can populate your company's details in the relevant fields.

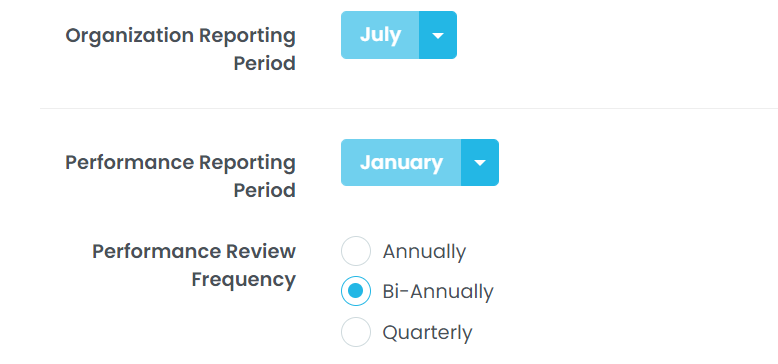
- You can also select your organizations performance and reporting periods.

- Once your organizations reporting periods are set, you can also set the frequency of performance reviews.

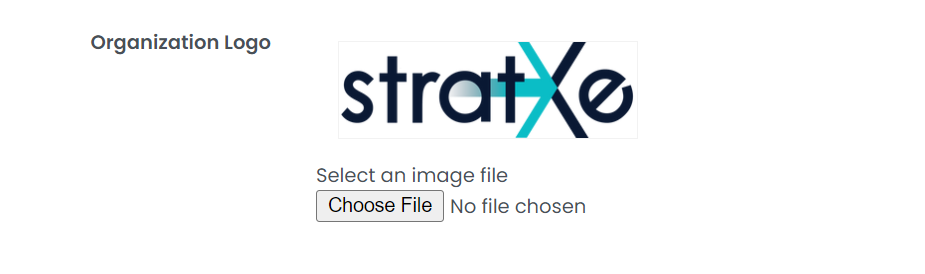
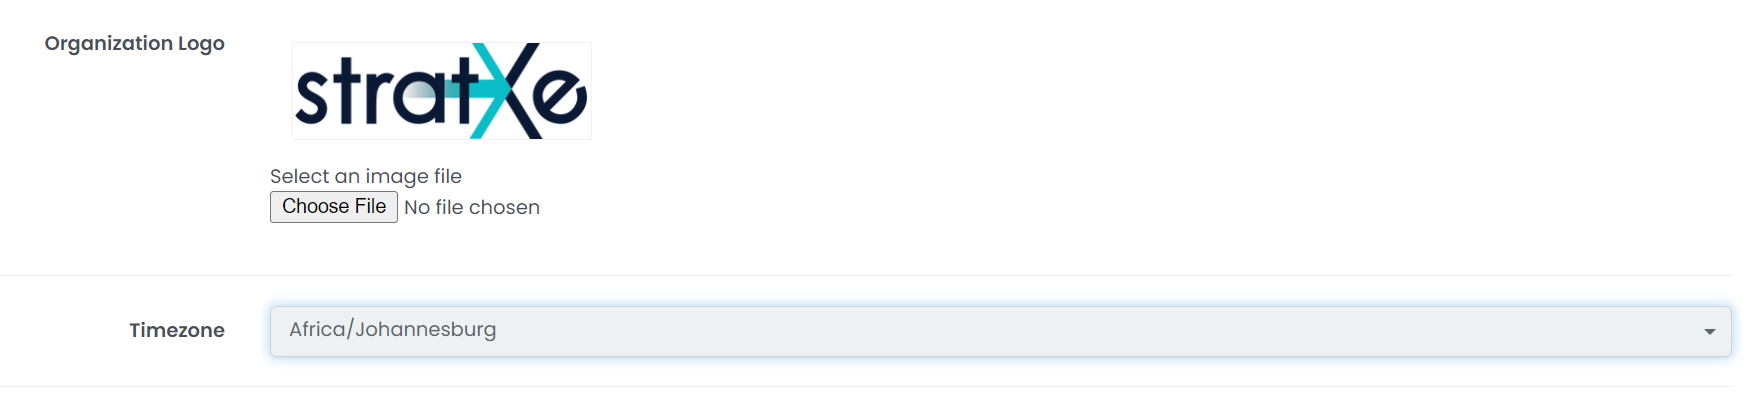
- The company logo can be added by clicking on "Choose a file", opening a window for you to choose the appropriate image (png, jpeg, jpg) from your file explorer.

- Select the appropriate time zone by clicking on drop down trigger to search for and select the relevant time zone.

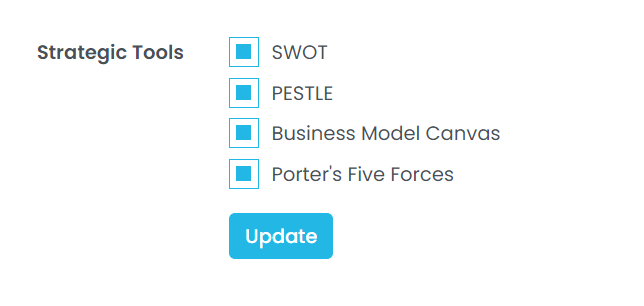
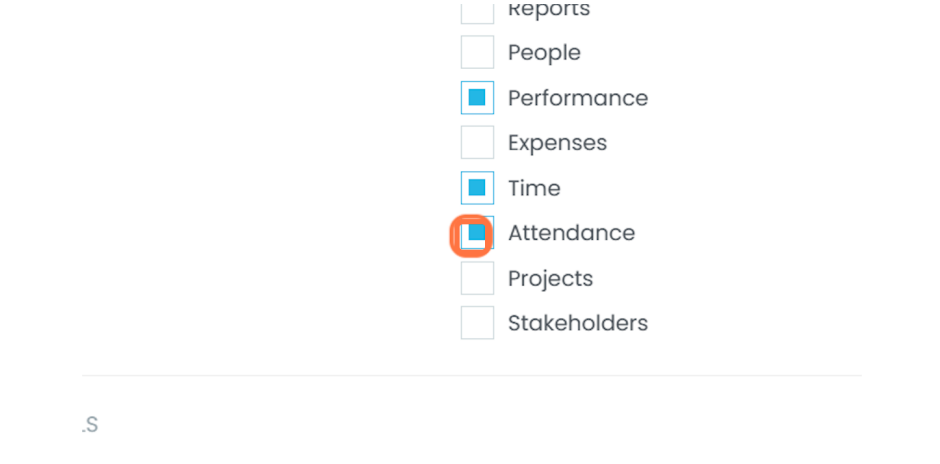
- Lastly, you can select the strategic tools the organization will use by checking the
appropriate boxes, and then click "Update" to save all changes.


User Set-up
User Set-up
Setting up new users on StratXE
- To begin setting up a new user, select the "Setup" tab and click on users.

-
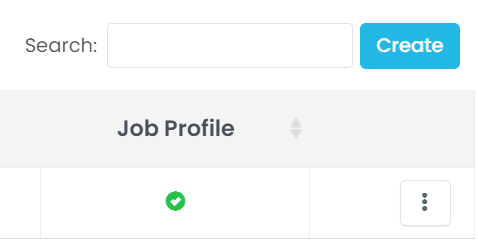
This will take you to the users page, which givers an overview of all the organisational users. To add a new user, click on "Create".

-
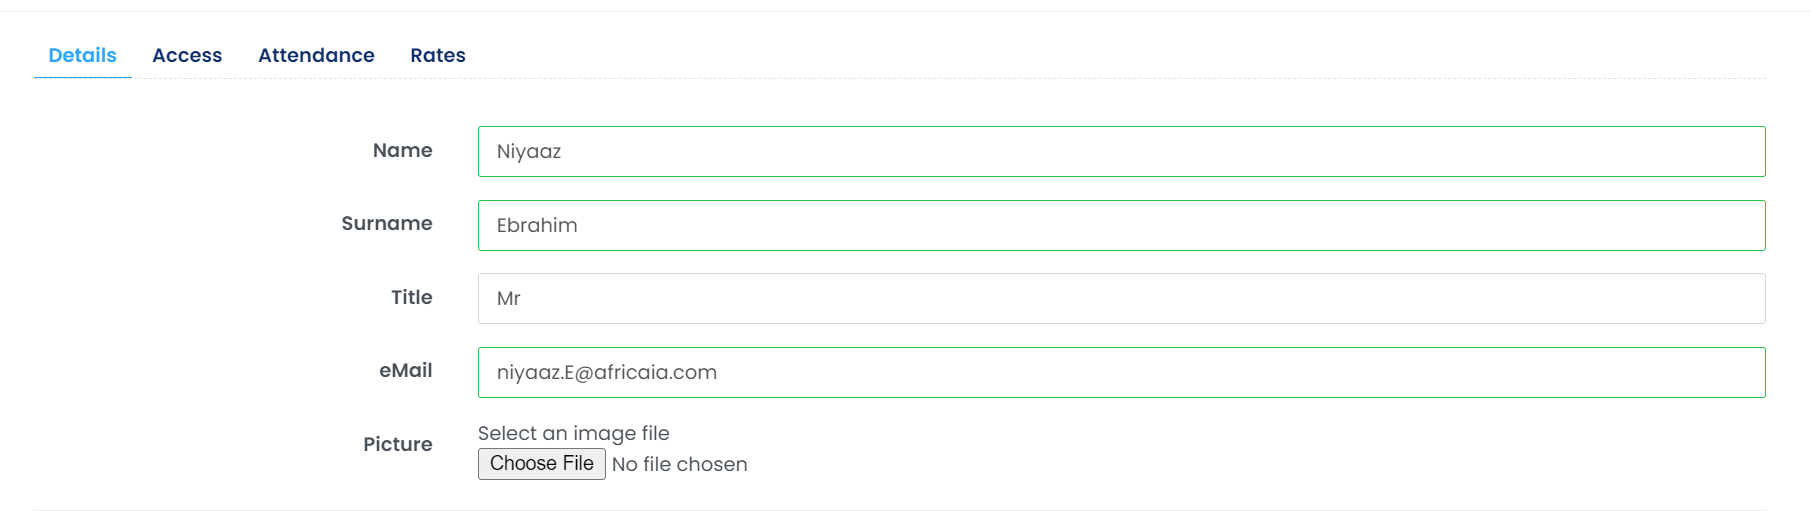
Fill in the fields with the information about the new user.

-
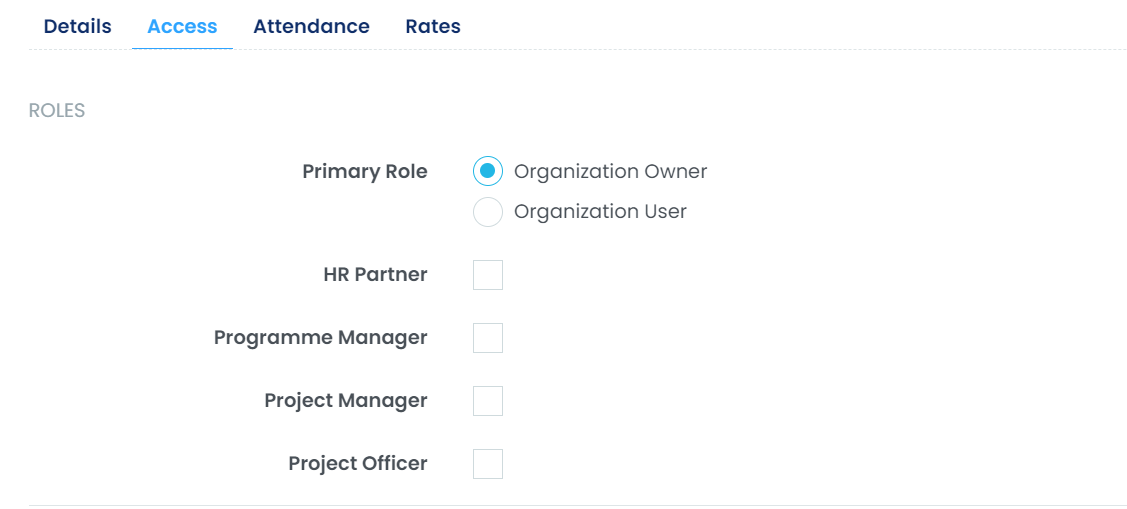
The users access can be allocated by selecting the Primary Role of the user. Select "Organization-Owner" to grant users global access to the system or select "Organization-User" to limit the access of the user.

- Set the users position, by selecting the relevant option.

- Select the modules that are relevant to the user.

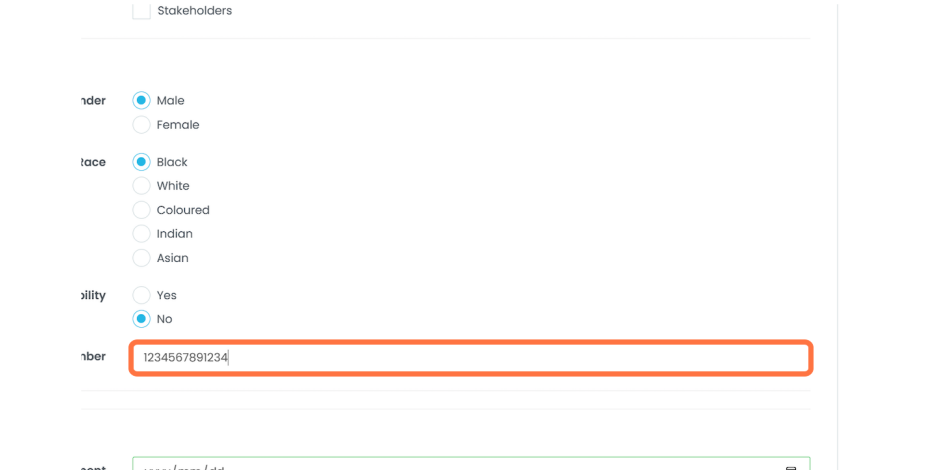
- Populate the remaining fields with the users information.

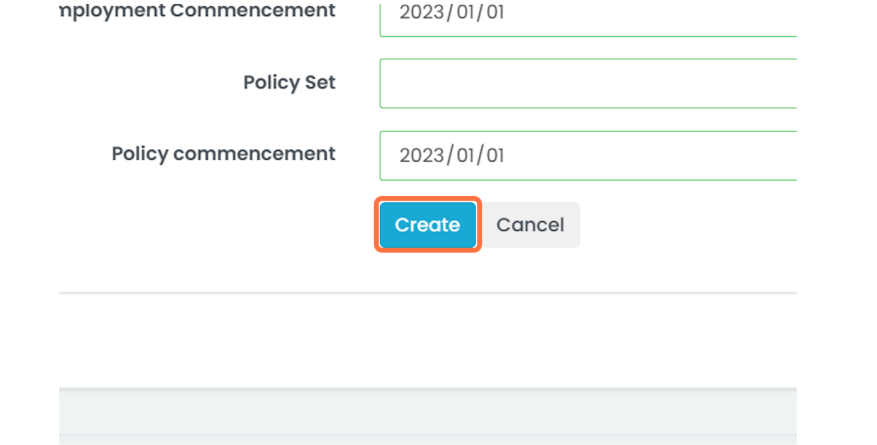
- Select the users employment and policy commencement dates. These are required feels and must be populated in order for the user to be visible.

- After inputting all of the details, click on "Create" to create the user. The user will then receive their login details via email.


System Set-up
System Set-up
Setting up the system
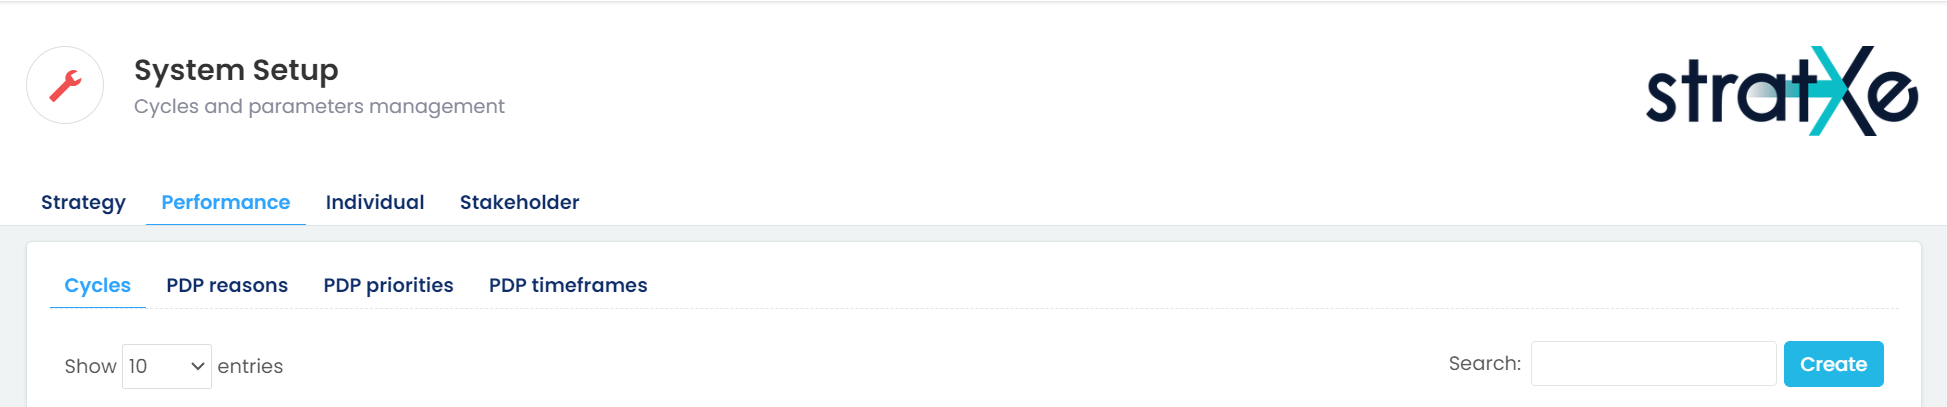
- To begin setting up the system, select the "Setup" tab and click on "System"

- The user will then be taken to the Strategy Setup page, from which users will be able to configure the organisations strategic framework. To begin setting up the framework, click on "Create"

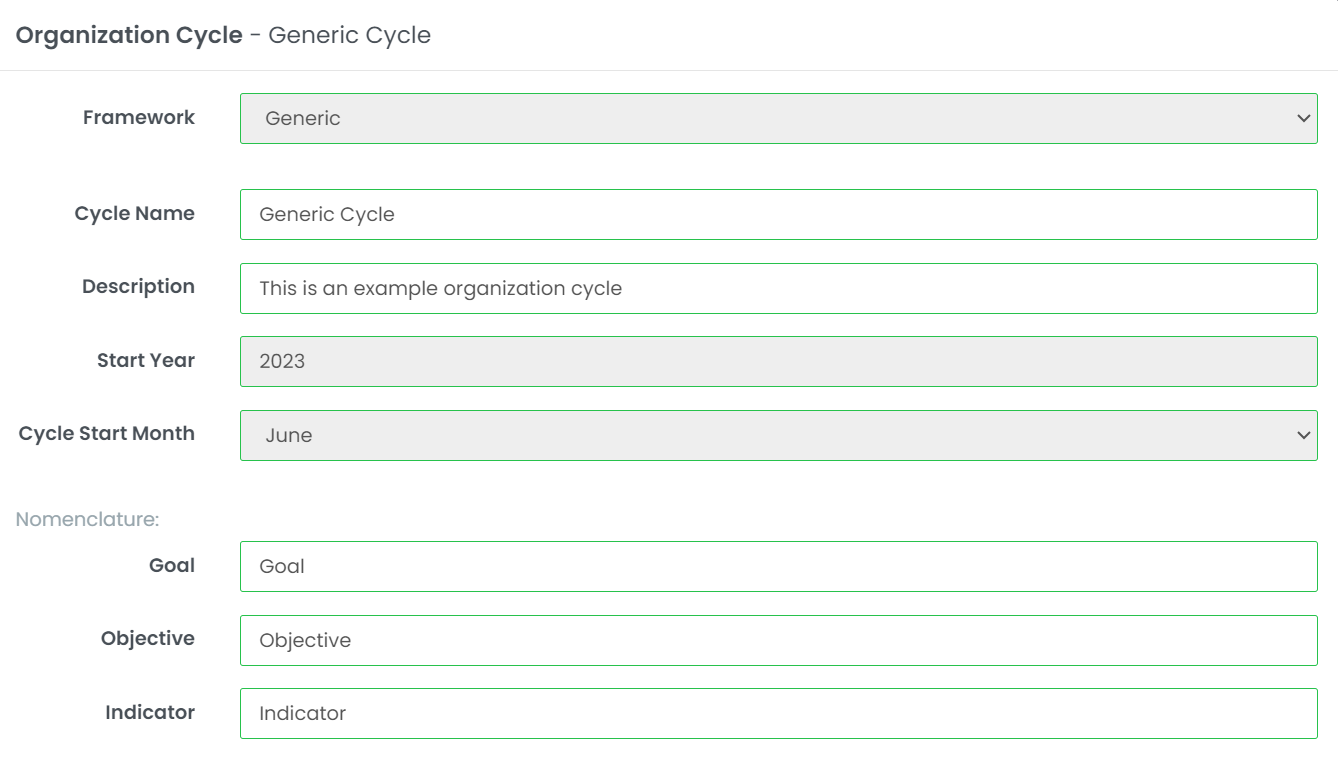
- The Organization Cycle dialogue box will appear. Select the relevant type of strategic framework from the "Framework" drop down list.

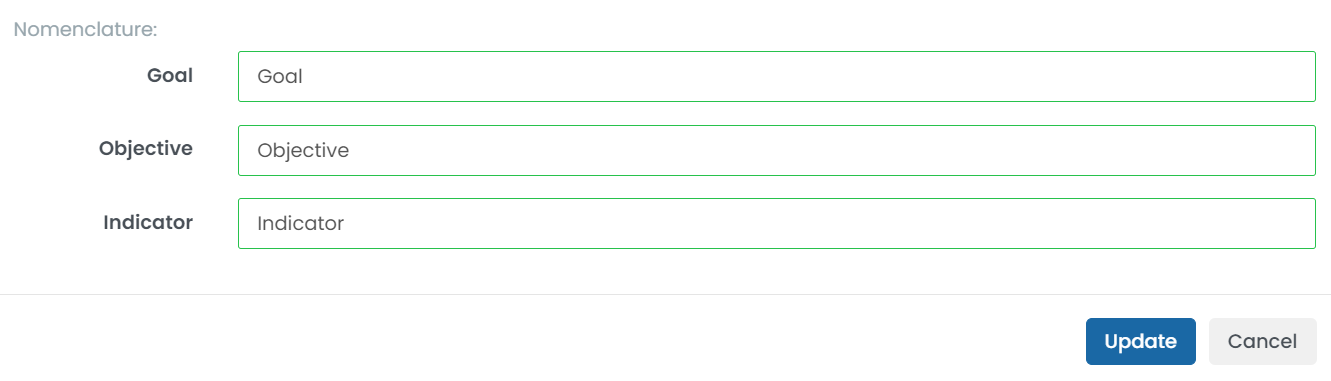
- Fill in the relevant details regarding the organizations strategic cycle. Click on "Create" to save changes.

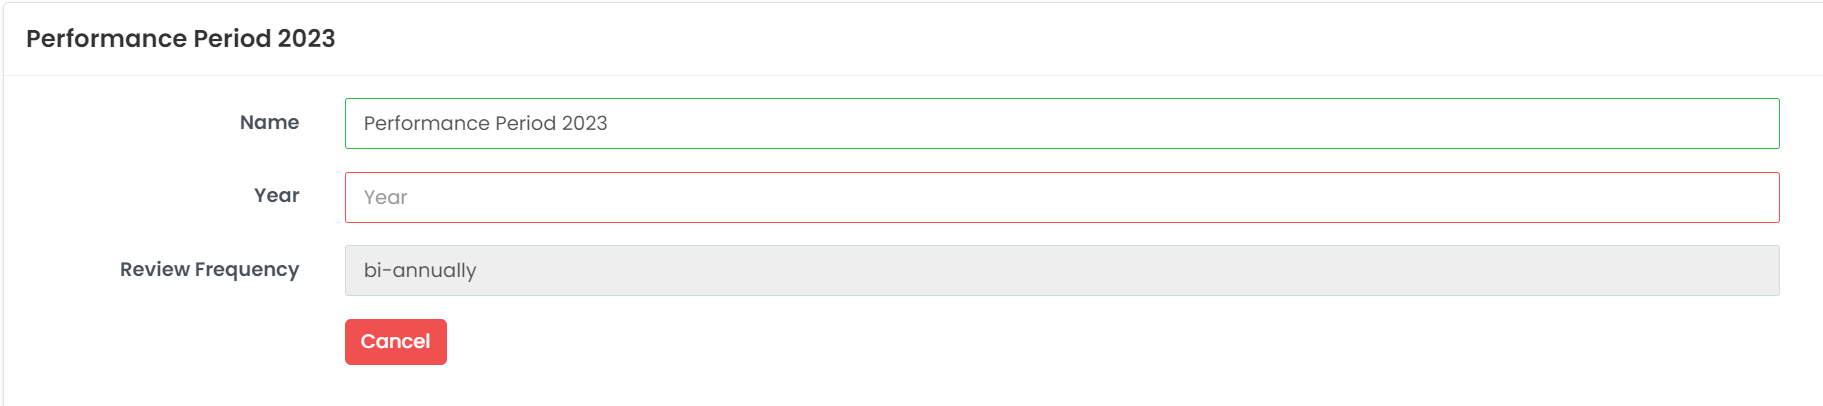
- Once the strategic framework and cycle have been created, the user may proceed with setting up the Performance Cycle. To begin doing so, click on "Performance" and then click on "Create".

- A dialogue box will appear at the bottom of the page, wherein users will be able to input the details regarding the Performance Cycle.

- Once the details have been filled in, click on "Create" to save changes and create the performance cycle.